I recently made a tags page on my blog. This contains the top nine categories that I blog about, below is an image of the top of the page:

My blog is running Ghost(Pro) with a highly modified version of the original casper theme from Ghost (That is right! the very grey version that was 1.0.0). In order to make changes to your theme you need to download and upload it, you can see how to download and upload your theme here.
The HTML
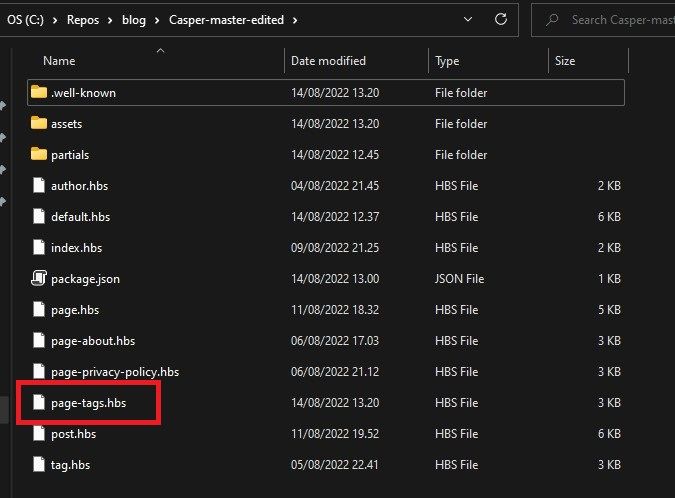
In order to display your tags on a page we need to create a new page hbs file. This file will contain the HTML of the page, you add this in the root of your theme. For our tag page we will create the file "tags-page.hbs". You can name this whatever you want, but anything between page- and .hbs extension becomes part of the URL of the page - in short the template is: page-{page-url}.hbs. See this page for more info. Below is an image of the root folder of my theme, as an example:
Inside of this .hbswe can define a grid of tags using HTML:
<section class="post-content">
    <div class="my-grid">
        {{#get 'tags' limit='9' include='count.posts' order='count.posts desc'}}
        {{#foreach tags}}
        <div class="my-grid-item">
            <a href='{{ url }}'>
                {{#if feature_image}}
                <img class="post-card-image"
                     src="{{img_url feature_image size="phone"}}"
                     alt="{{title}}" />
                {{/if}}
                <h2>{{ name }}</h2>
                <p>{{description}}</p>
                <p>
                    <small>{{ count.posts }} posts.</small>
                </p>
            </a>
        </div>
        {{/foreach}}
        {{/get}}
    </div>
</section>
In the above we use {{#get 'tags' limit='9' include='count.posts' order='count.posts desc'}} to get the 9 tags with the most posts in descending order. Using the {{#foreach tags}} loop we iterate through them all and access their attributes: name, image, description, total number of posts etc. You can see the full list of attributes and more in the ghost documentation for the tag theme helpers.
Setting up tags and their data
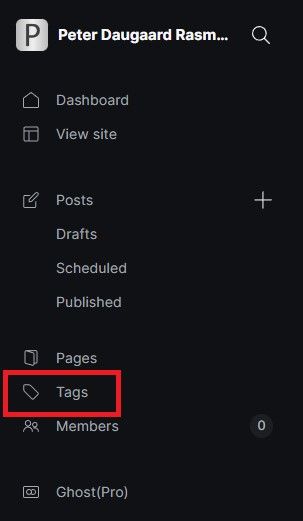
You can set up tags in the tag section of your Ghost backoffice:
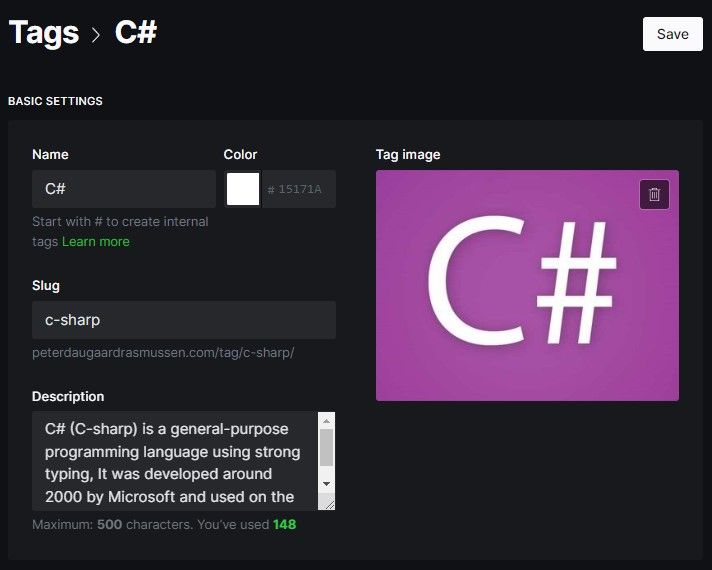
Here is for example how I have defined C# on my blog:
This will serve as the output in the HTML.
CSS
With a little bit of CSS we can add a grid to the above. The below creates a grid with three columns, since we have nine tags in total this will create three rows as well:
.my-grid{
   display: grid;
   grid-template-columns: minmax(0, 1fr) minmax(0, 1fr) minmax(0, 1fr);
   column-gap: 30px;
   row-gap: 30px;
}

.my-grid-item{
    overflow:hidden;
}
You will likely have to tinker with this as it is highly dependent on your theme. You may also want to consider responsiveness and reduce the amount of columns as the screen shrinks. From the above I have removed what I have theme specific on my site and left a "skeleton" of what is needed to style our tag page.
That is all
I hope you found this post helpful. I use almost identically the above on my /tags/ page, so you can easily take a peak there. I have modified it to be responsive and kept it rather simple and short in this post. Other than that please add a comment down below with what you think!