I have been using Visual Studio for years and every time I have had to diff two files I went to notepad++ or some other great text editor, however I have recently discovered that you can actually do this from Visual Studio - with a bit of tinkering.
Note: You can also use extensions, which are a lot easier, see this post
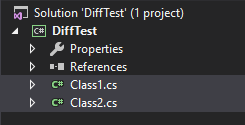
Visual Studio can easily diff files that are under source control, however sometimes you have two files which you wish to see the differences of. There is no way to just select two files, right click and diff them. But you can call a command to do so using Tools.DiffFiles in the command window. I will give you an example: If you have a project with two classes like below:
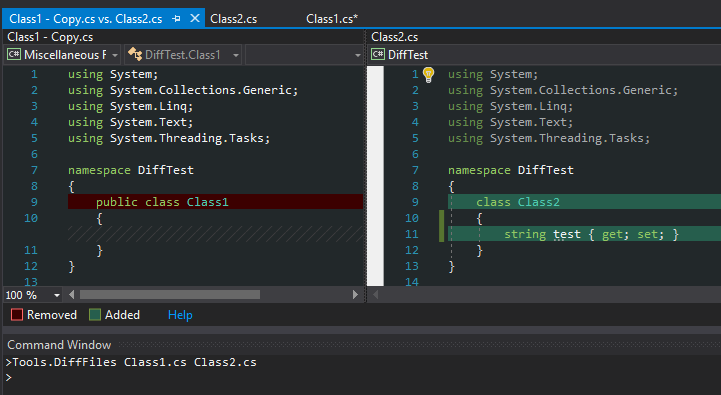
You can easily compare the two files using the following command:
Tools.DiffFiles Class1.cs Class2.cs
Which will give you the usual window when comparing two files:
This is how you can diff files within Visual Studio. Tools.DiffFiles will also help you auto-complete paths to the files you are looking for - making it easier for you to get them right. It can also diff files that are not part of your projects.
The command window which can be seen at the bottom of the above image can be found at "View -> Other windows -> Command window" or use quicklaunch (ctrl + q and search for "command window"). This window can also be found using ctrl + alt + a.
That's it, I hope you enjoy this and I wish that the Visual Studio team will build this into the UI at some point! Let me know what you think in the comments.