Given how long Visual Studio has been out there I sometimes wonder why there is no built in function to compare two files. Using for example Visual Studio Code you can easily select two files, right click and compare them. There is a way to achieve this in Visual Studio, but it requires an extension. Here are two examples of how you can compare files in visual studio, with or without an extension.
Using file differ extension
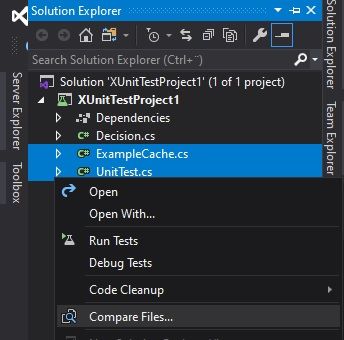
Mads Kristensen has made a lot of great extensions for Visual Studio, one of them is the file differ extension. This is a simple extension that allows you to select two files, right click and hit compare, just like in Visual Studio code. This will show a comparison just as if you were comparing files in source control. You can install the extension by going to:
Extensions -> Manage extensions -> Online -> Search for "file differ" -> install
You will have to restart Visual Studio, after this you can select two files in Visual Studio's solution explorer and compare them as seen below:
This is my favourite way to compare files in Visual Studio, the only downside is that you need an extension.
Using the command line
I first wrote about this method back in 2019. You can tap into the functionality that Visual Studio uses to compare files by using the Tools.DiffFiles command. This will give you the same view as the file differ extension, again this looks just like when you compare different versions of a file under source control.
If you have two classes in your solution as in the below image:
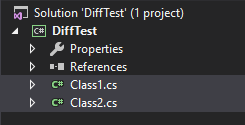
You can easily compare the two files using the following command:
Tools.DiffFiles Class1.cs Class2.cs
Which will give you the following window, where you can easily see the differences in the two files:
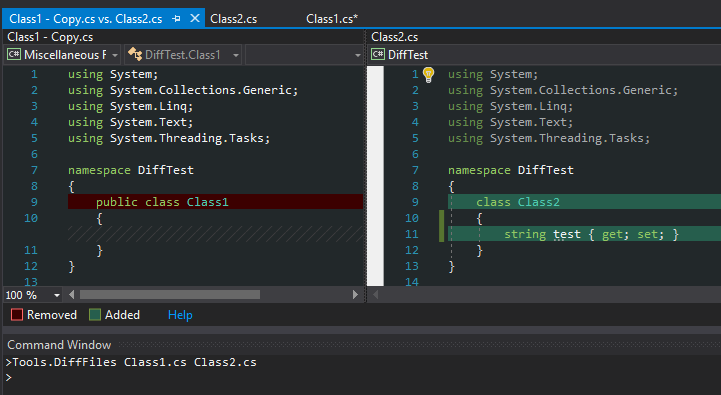
That is it, using this you can compare two files within Visual Studio. Tools.DiffFiles will also help you auto-complete paths to the files you wish to compare. It can also compare files that are not part of your projects. If you do not know where the command window is, you can find it in Visual Studio by going to:
View -> Other windows -> Command window
Alternatively you can use quicklaunch (ctrl + q and search for "command window")
This method for comparing files has the advantage that it is built into Visual Studio, however it is more cumbersome than just selecting two files and hitting the compare option.
That is it!
I hope that one day the Visual Studio team will make the file differ extension a part of Visual Studio. Until then we are stuck with one of the two options above, I hope you find them helpful. If this page was of value to you, please let me know in the comments below! :)